Showing posts with label Tin of Cards Project. Show all posts

Saturday, July 4, 2015

Celebrating Creativity - Day 4

Today is 4th of July and I'm spending it with the family and taking a lot of pictures and hoping no one catches our house on fire with a stray firework! 

I wanted to do a final post on the cards in the Tin of Cards and then I will start posting the other projects I made with the stamp set. 

First, the stamp set you can get for this project is awesome.   It's $17.00 and has everything you need for most occasions!  I love the size of the scripted sayings and I really like the doodle stamps in this set to add just a little something special to your stamped projects!
Today's card is very simple.  I changed it from the instructions by leaving off the gold glitter heart - just not my style - but I also needed some cards for the boys and men in my life and this seemed a little more masculine without the heart.  I made all four using the Happy Birthday and attached with dimensionals, though glue dots would make it flatter for mailing.

This is another project where I stamped with Stazon but could be done with Tuxedo Black Memento ink. 

As stated the past few days, this kit is on backorder until mid-July but it's a great purchase for either a gift or for yourself.  You can make cards fitting any occasion with it and you can use the stamp set to make other cards as you'll see this weekend. 

To make this tin and all these cards on your own, you'll need these supplies!
You'll also need some general crafting supplies.  Here is what I recommend in every crafting kit.
If you order online, please use hostess code E9K9QN9B.

Have a safe and wonderful 4th of July!
Stacy

Friday, July 3, 2015

Celebrating Creativity - Day 3

Today's projects are still from the Tin of Cards project kit.  This set is so versatile as it comes with pre-printed tags to make a birthday, hello, congrats and thank you card.  I did not like the baker's twine on these cards like in the instructions so you'll see that I focused more on the layout of the stamping on the card. 

 
Though I liked using Tuxedo Black Memento ink on the other cards, please note that to stamp on the gold foil itself, you must use Black Stazon and then you will need a Stazon cleaner for your stamps.  But you can avoid that and just stamp on the white card that shows through the gold paneling!

For this card, I layered the gold using adhesive on the back and then stamped on the white card.  Be mindful on where you stamp the saying.  I recommend playing the circle die-cut on the card first and then stamp around it.


For this one, I just put the circle at the top and then stamped on the bottom of the card.  The card looks fancy so you don't have to try that hard with this one!


I decided to try to the baker's twine on the card in a different way so I tied a bow and attached it to the Congrats with a little adhesive.  Again, the stamping is done with Black Stazon since I stamped the foil!


There are a lot of things I've come to love about photopolymer stamps.  One of them is how you can line up the stamps without a Stamp-a-Majig.  In this case, I stamped "Thanks" three times and circled with the epoxy stars.  I loved this one.


While the kit is on backorder until mid-July, I still think it's a great purchase for either a gift or for yourself.  You can make cards fitting any occasion with it and you can use the stamp set to make other cards as you'll see this weekend. 

To make this tin and all these cards on your own, you'll need these supplies!
You'll also need some general crafting supplies.  Here is what I recommend in every crafting kit.
If you order online, please use hostess code E9K9QN9B.
 
Have a craftastic day,
Stacy

Thursday, July 2, 2015

Celebrating Creativity - Day 2

Today I'm continuing with my Tin of Cards creations.  This project kit comes with the tin, 9 dividers, and supplies to make 16 cards, 4 each of 4 designs.  It costs $27 and holds standard sized cards! You can either get with your demonstrator to make these cards or purchase the Tin of Cards stamp set to complete them!  The supplies are listed at the bottom of this post.


Did you know that if you use the Stampin' Pierce Mat under your projects when you use the photopolymer stamps that it will give you a clean crisp image every time?  Try it out next time you are using these stamps!

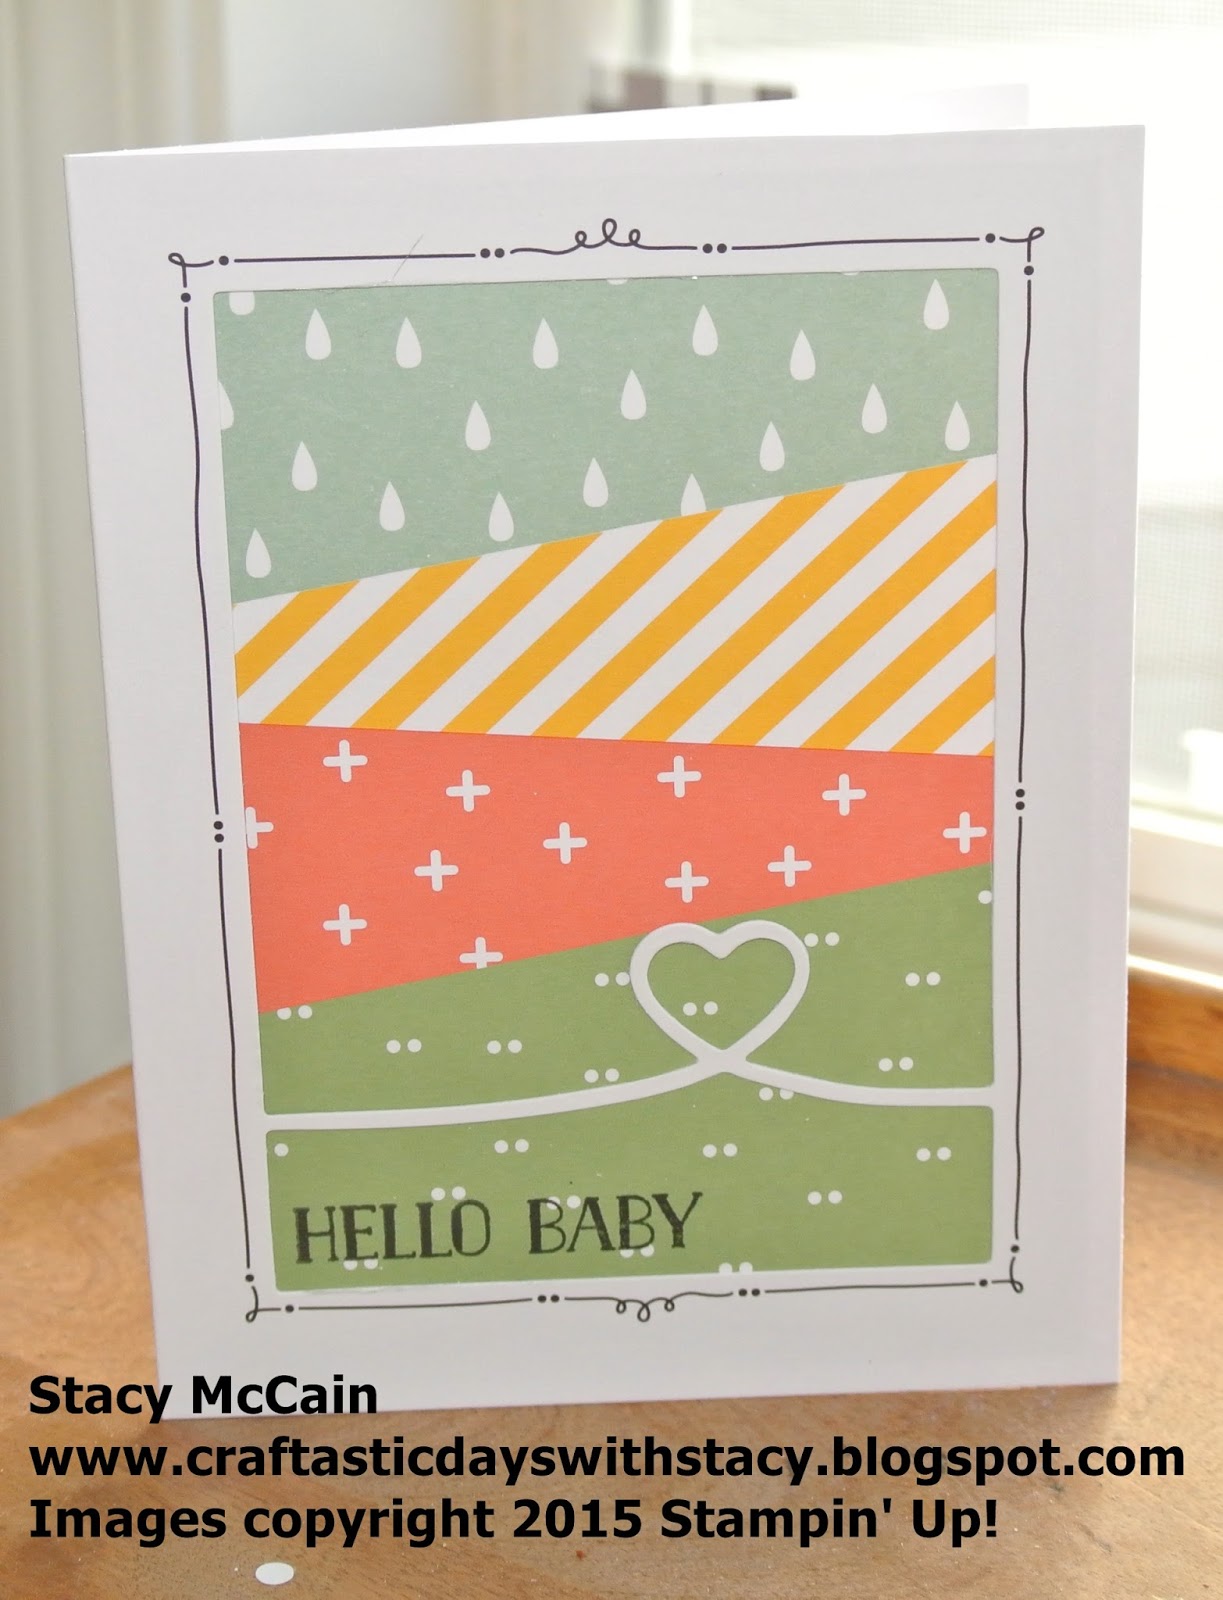
This post is about the multi-striped card in the kit.  The instructions have you inserting the striped (pre-printed) paper into the card front.  Then you stamp on a small or large banner and adhering it to the front.  Then you add a few great gold epoxy hearts and you are done!  I did change the ink to be the Memento Black on this vs the Mint Macaroon in the instructions.  I was afraid my pad would bite the dust during a class and I like the black as it coordinates with the printed doodle around the card!


You can also change the placement of the gold hearts for a different look.


I also tried stamping directly on the paper and it shows up great when using the Memento Black ink.


Finally, I thought a photo would go great in the front of this card.  Just cut it down to 5 1/4 x 4 and adhere to the card.  Be careful when assembling though so you don't have to move it.  I did and had to cover the adhesive that got on the photo with those little hearts!  And this photo makes me smile so I just stamped "Happy" on the front and thought I'd send it for any number of reasons! (Photo provided by Heidi Hagman Photography).


While the kit is on backorder until mid-July, I still think it's a great purchase for either a gift or for yourself.  You can make cards fitting any occasion with it and you can use the stamp set to make other cards as you'll see this weekend. 

To make this tin and all these cards on your own, you'll need these supplies!
You'll also need some general crafting supplies.  Here is what I recommend in every crafting kit.
If you order online, please use hostess code E9K9QN9B.
 
Have a craftastic day,
Stacy

Wednesday, July 1, 2015

Celebrating Creativity - Day 1

While my children have been running wild this summer and learning to swim (the 4 yr old) and run (the 16 month old), I have been working with each spare moment they give me to create Convention swaps and develop class ideas.  I've had two new wonderful women join my team this month so I will be embarking in my own group meetings and need a lot of make-n-takes to go with those meetings each month.

So I created a personal challenge for me - to post a project each day for the month of July.  It means I'm playing and it means I can more easily inspire you to create too!

My summer classes were supposed to be the Tin of Cards so this was the first thing that I put together out of the new catalog.  The kit comes with the tin, 9 dividers, and 16 cards (4 each of 4 designs).  The kit does not include the ink and stamp sets, so I purchased those too to use with my classes.  However, I have created all my Convention swaps with that stamp set so it's versatile for more than just the tin.

Isn't this cute?  Stamped with Memento Black ink and Mint Macaron.  I used Stazon ink on some of the elements in this kit but I wanted the ink to come off my photopolymer stamp so I used Memento Black where I could.

Isn't it cool?  It fits standard sized cards - a LOT of them.


Downside of this adorable kit?  I'm not the only person who thinks it's awesome.  It's on backorder until July 17th.  So now my classes for it are in August but I'll be completely prepared once I get back from Convention. 

So what is so great about it?  Some really cool cards with new fun techniques on some and LOTS of our new product.  This first group of cards was done mostly as the directions instructed.  Aren't those great?  You can duplicate this type of card with the Butterfly Thinlits and Framelits.  It also uses the Gold Metallic thread which is a super fun accent.


But I needed a sympathy card so I took one of them and stamped the front instead of a banner.  This stamp is in the Thoughts and Prayers set.


However, when I stamped the inside, it was crooked.  To me, sympathy cards are something that NEED to be straight.  So I covered it up with a circle and then I could see the circle through the window sheet on the front of the card.  Then I noticed that when I opened the card, I could see all the dimensionals through the window sheet.

 
So I cut a 5 1/4 x 4 piece of Kraft Cardstock to go on the inside.  It makes it look like it's still see-through but lets you stamp and write on the inside without it showing through the front of the card.  SUCCESS!

Kraft cardstock comes in 12 x 12 sheets and is $6 for 12 sheets.  You can buy some here.

If purchasing items via my online store, please use hostess code E9K9QN9B upon checkout.
Thanks and have a craftastic day,
Stacy