Monday, November 23, 2015

Online Extravaganza - Starting Today!

Our holiday season sale is here and you won't believe the deals.  Visit http://www.stampinup.com/ECWeb/CategoryPage.aspx?categoryid=100600&dwbs=80380 to check it out.  We have products up to 50% off and a special doorbuster for today only.  Please use hostess code QT92WGZJ when checking out!
 
I am working on my Paper Pumpkin samples today and the homemade ornaments I'm teaching for a kids "class" on Wednesday.  Check back this week for some ho ho homemade goodies!
 
Have a craftastic day,
Stacy

Monday, November 2, 2015

October 2015 Paper Pumpkin - Blissful Bouquet Samples

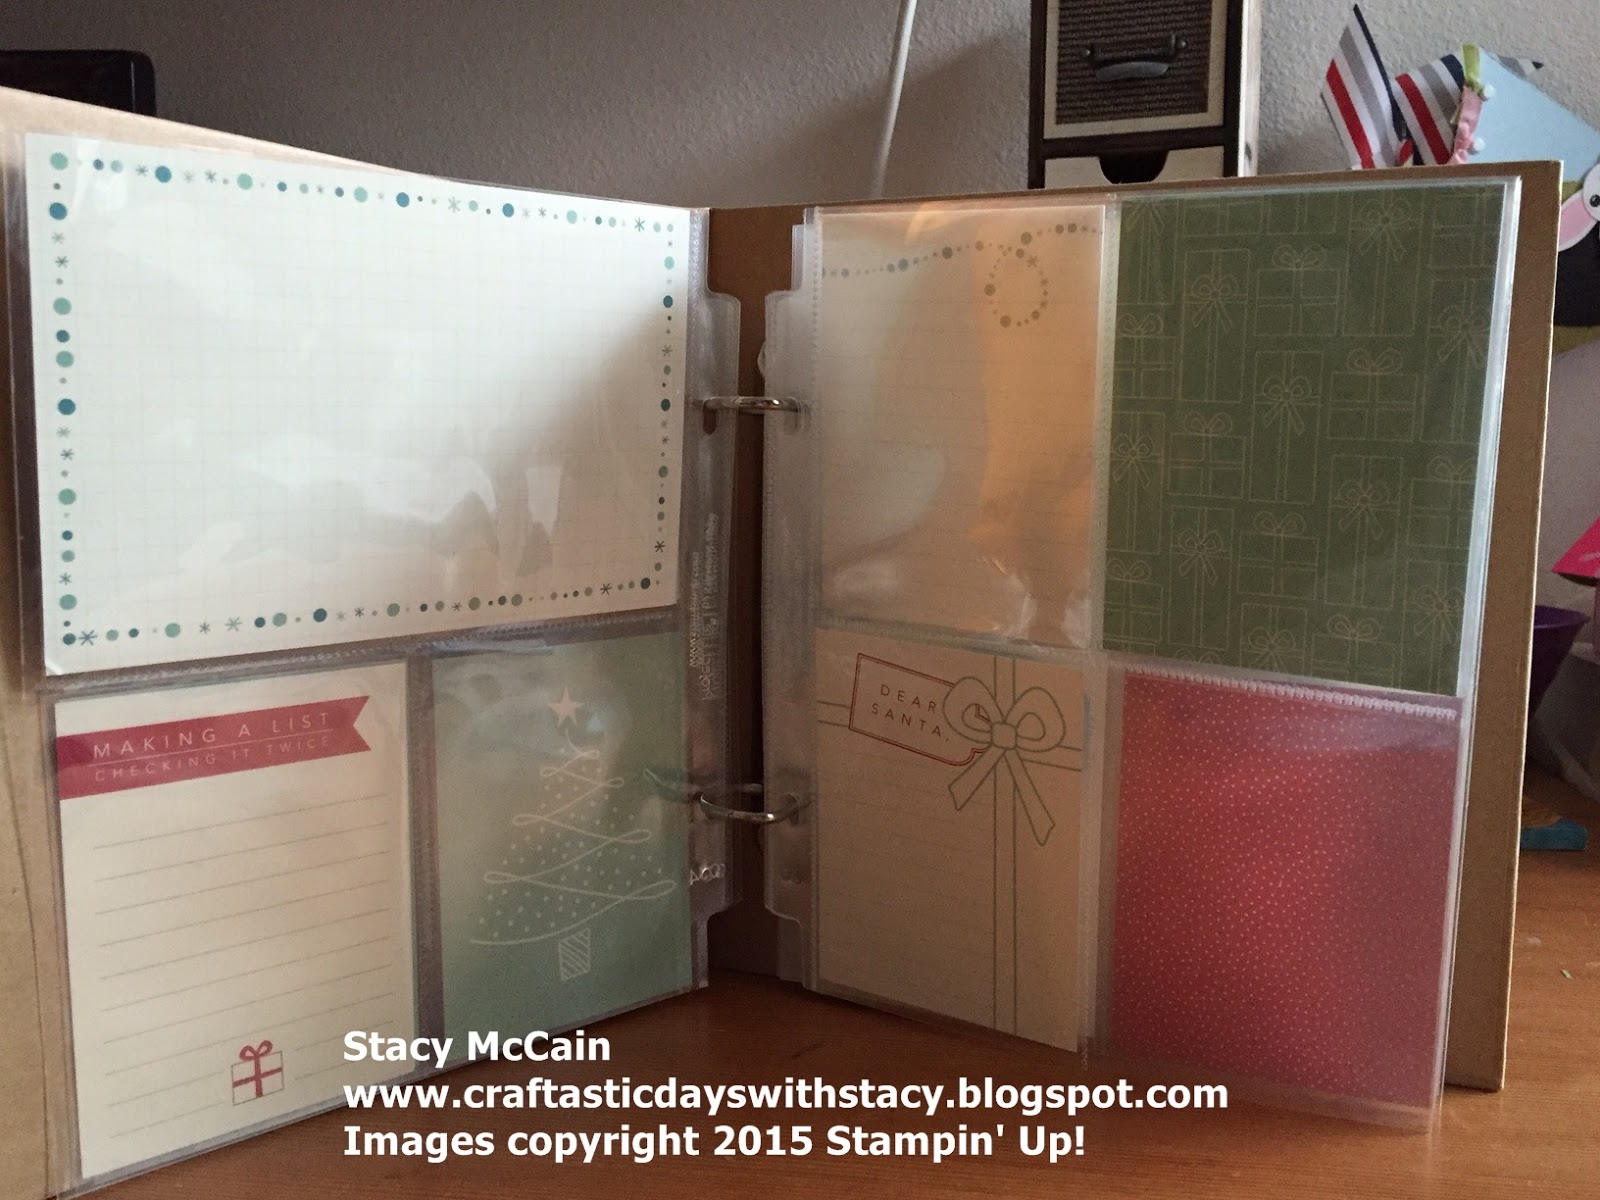
Here I am, with your monthly dose of Paper Pumpkin inspiration.  We survived Halloween and I'm excited to get a little quality time with my Seasonal Snapshot Project Life kit to help chronicle our Autumn so far!  But, before I can scrapbook my pumpkins, I wanted to get my Paper Pumpkins created.

As a subscriber to Paper Pumpkin, you receive a kit in the mail with everything you need to create great cards or other projects.  The kit has a photopolymer stamp set, ink spot, pre-cut cardstock and embellishments, and instructions.  As a first time subscriber, you also get a clear block to use with the stamp set.  The kits are $19.95 (plus tax) and come right to your door in a great red box.

The October kit was called Blissful Bouquet.  It had supplies to make three each of these cards (3 full cards, 3 notecards, and 3 love notes) with three different sayings.

Notecard:


Full Card:


Love Note:


As a subscriber to my group of Paper Pumpkineers, I also create additional projects and give you the detailed instructions on how to replicate them.  Sometimes they use just kit contents and other times they use additional supplies, like pearls or other inks.

Card Ideas:


Gift Card Ideas:
 
Using one of the large envelopes in the kit.


Using the square pillow box thinlits.

 
Mini Book Idea:  I used the stamp set from the September 2015 Paper Pumpkin kit on this project since most of my customers had both kits!

Basic Construction with two love note envelopes.


 Insert love note and 3 x 3 yellow cardstock piece.


Decorate the cover with a 3 x 3 photo and the half banner on dimensionals.

 
Decorate the inserts.
 

If you are interested in joining my Paper Pumpkin group, please visit https://mypaperpumpkin.com/en/?demoid=80380 and start receiving your tutorial sheets with the November kit later this month!  Or, if you already got your October kit and made it, you can purchase a refill at my Online store using hostess code 9GVCUBHA and get the instruction sheets as well for free.

http://www.stampinup.com/ECWeb/ProductDetails.aspx?productID=140381


Have a craftastic day,
Stacy

Wednesday, October 28, 2015

New Masking Video from Stampin' Up!

Have you subscribed yet to the Stampin' Up! You Tube channel?  Stampin' Up! has multiple videos out there that cover the new products in our annual and mini catalogs and also technique based videos to help you get the most out of you supplies, especially when I'm not around.

Today I'm including the link to the Masking Technique video.  This is a great way to get more mileage out of your stamp sets and gives the look of a lot of work with ease. 


There are so many videos to choose from - I hope you find something you enjoy!

Our new weekly deals are up!  You can purchase your stamp sets at my Online Store and please use hostess code 9GVCUBHA at checkout.

Have a craftastic day,
Stacy

Tuesday, October 27, 2015

Black and White Wonderland

There are many perks to having your mom be a fellow demonstrator.  She helps you prep, she supports your business with referrals and sales, she inspires you daily, and she gives you cards to use as samples that you would never think of. Well, maybe not everyone's mom does this but mine sure does.  She's amazing.

Today I'm sharing her black and white Christmas card featuring the Winter Wonderland product suite.  The Winter Wonderland Speciality Designer Series Paper is a more subtle way to decorate for the holidays.  While this card is black, white, and silver, the paper pack is actually black, white and gold.  The card also features a 2 1/2  Circle of the Fancy Foil Holiday Vellum.

If you aren't a fan of dimples on your thinlits, consider getting the Precision Cutting Mat.  I love that it adds texture to the words just using my cutting mats but know that some prefer a different look.


Supplies:
  • Cardstock: Holiday Fancy Foil Designer Vellum, Basic Black, Winter Wonderland Specialty Designer Series Paper, Silver Foil Paper
  • Ink:None
  • Stamp Set: None
  • Accessories:  Big Shot and Cutting Mats, White Accents, Basic Rhinestones, Christmas Greetings Thinlits, 2 1/2 Circle Punch, Scissors, Fine Tip Glue Pen, Adhesive and Dimensionals
Our new weekly deals are up!  You can purchase your stamp sets at my Online Store and please use hostess code 9GVCUBHA at checkout.


Remember that Paper Pumpkin subscribers have an extra perk of being able to buy kit refills and full past kits from my Online Store.  Refills for our newest kits have been added.  Check them out today! 
 
Have a craftastic day,
Stacy


Thursday, October 22, 2015

Hello December Mini Book and Cards

So tonight is the night - my sip and stamp group is meeting and we are set to have a blast!  Besides the four kits for the Hello Life Project Kit that we'll be doing, I wanted to challenge myself to see what I could do with the leftovers.  Not only did I love these two projects, it helped me be AHEAD for the holidays already.  I can't believe I get to say that!

The first project is a super easy card that uses any of the December cards that you don't use in the album or on the rack.  You just stamp the Joy from Seasonal Snapshot 2015 stamp set and punch out using the 1" Circle Punch.  I mounted it on a dimensional and then put the whole 3 x 4 card on a 8 1/2 x 5 1/2 piece of Very Vanilla.


Supplies:

The second project is a mini album.  Project Life is all about simple scrapbooking.  It helps you catch up and makes it easy to slide and place the cards and your photos.  Add a little journaling if desired and you are done.  I plan to embellish up some of these cards closer to Christmas when I put in the photos but the album is complete even if that task gets away from me.

The album cover is very simple and flat because I don't want it to tear or fall apart when I store it for the year.  The December to Remember card is accented with basic rhinestones and then layered on two of the red December cards from the kit.  I attached it to the cover using our Tear and Tape, a wonderful product EVERYONE should have!

 
The rest of the pages are just plug and place.  I tried to group them by colors so in some cases I am using both the front and back of the same card and sometimes I inserted two cards.  At the end I put two of the 6 x 8 envelopes to hold photos from Christmas cards and holiday letters.


Supplies:
 
For this week only, you can get 15% of stamp sets.  This does not apply to a bundle since you are already saving 15% when you buy those.  You can purchase your stamp sets at my Online Store and please use hostess code FKPNYCW6 at checkout.


Some of my favorite items are on sale this week.  Check out the deals HERE and use hostess code FKPNYCW6 at checkout.
 
 
 Washi tape is always a hit and our 2014-2016 In Colors are a great collection to have on hand before those colors retire!
 
Through November 9th, you can get an extra 3% in Hostess Benefits if you have a party of $300 or more.  This includes online parties so if you have friends that need to stock up on their holiday crafting supplies, contact me today for a hostess code and you can hold your parties, earn something free, and not have to clean your house or get dressed up! 
 
Have a craftastic day,
Stacy

Wednesday, October 21, 2015

Hello Life Project Rack - Winter Edition

As mentioned yesterday, I am doing a Project Life décor class this week featuring the Hello Life Project Kit and the Hello December 2015 Project Life Card Collection
Today's example is for those snowfilled or new years pictures that you would like to hang at least once a year.  I added rhinestones and vanilla dots from the Home for Christmas Enamel Dots.  The All Bundled Up is cut from the center of the 4 x 6 card using the 3rd largest oval framelit.  I also used the Snow Flurry punch on a few of the December cards to make snowflakes to accent the pictures.

 Supplies:
  • Accessories: Hello December 2015 Project Life Card Collection,  Basic Rhinestones, Big Shot & Cutting Mats, Magnetic Platform, Oval Framelits, Clothespins, Dimensionals, Paper Trimmer, and Adhesive
This project utilizes the rack from the Hello Life Project Kit.  This décor item is beautiful and worth every penny.  I've had so much fun making it and know you would as well!

 
Come back tomorrow to see the other projects I made with the leftover cards in the kit.  Nothing goes to waste with the Hello December 2015 cards!  If you are interested in buying any of these items, please visit my Online Store and use hostess code FKPNYCW6 at checkout.
  
 
For this week only, you can get 15% of stamp sets.  This does not apply to a bundle since you are already saving 15% when you buy those.  You can purchase your stamp sets at my Online Store and please use hostess code FKPNYCW6 at checkout.
 
 
Some of my favorite items are on sale this week.  Check out the deals HERE and use hostess code FKPNYCW6 at checkout.
 

That silver vellum would make a beautiful accent on a Christmas or wedding card and that bitty bow would add a lot of whimsy to any of your Christmas tags or other festive projects.

Through November 9th, you can get an extra 3% in Hostess Benefits if you have a party of $300 or more.  This includes online parties so if you have friends that need to stock up on their holiday crafting supplies, contact me today for a hostess code and you can hold your parties, earn something free, and not have to clean your house or get dressed up! 

Have a craftastic day,
Stacy

Tuesday, October 20, 2015

Hello Life Project Rack - Christmas Edition

This week I'm teaching a Project Life décor class with four hanging kits that can be rotated out for our Hello Life Project Rack.  I've shared the two made with the Happy Times Project Life accessory kits a few months ago.  Today and tomorrow I'm posting the holiday set featuring the Hello December 2015 Project Life Card Collection


Supplies:
  • Cardstock: Very Vanilla
  • Ink: Real Red
  • Stamp Set: Seasonal Snapshot
  • Accessories: Hello December 2015 Project Life Card Collection, Red Pom Pom Trim, 1/8 Striped Real Red Ribbon, Basic Rhinestones, Big Shot & Cutting Mats, Magnetic Platform, Lots of Labels Framelits, 1" Circle Punch, Clothespins, Dimensionals, Glue Dots, Scissors, and Adhesive
This project utilizes the rack from the Hello Life Project Kit.  This décor item is beautiful and worth every penny.  I've had so much fun making it and know you would as well!


Come back tomorrow to see another kit using this card collection and Thursday I'll be posting the other projects I made with the leftover cards in the kit.
  
For this week only, you can get 15% of stamp sets.  This does not apply to a bundle since you are already saving 15% when you buy those.  You can purchase your stamp sets at my Online Store and please use hostess code FKPNYCW6 at checkout.
 
 
Some of my favorite items are on sale this week.  Check out the deals HERE and use hostess code FKPNYCW6 at checkout.


Through November 9th, you can get an extra 3% in Hostess Benefits if you have a party of $300 or more.  This includes online parties so if you have friends that need to stock up on their holiday crafting supplies, contact me today for a hostess code and you can hold your parties, earn something free, and not have to clean your house or get dressed up! 

Have a craftastic day,
Stacy

Monday, October 19, 2015

Merry Envelope Gift Card Holder

Last night while all in my house were trying to sleep off their colds, I was busy at work starting my Christmas shopping.  I know, it seems crazy early but with all my classes lately, I thought I better get a head start!
 
This little gift card holder was inspired by Angie Juda.  I love the idea of using an envelope as the holder but had never thought about this specific design before. You take an envelope and fold it in half.  Then you cut half of the envelope flap off.  I put a strip of tear tape on the inside of the left side before sealing down the envelope flap because I didn't want the gift card to fall over in the envelope!
 
 
To decorate, I took a piece of our Merry Moments DSP and cut it to fit the envelope front.  The size depends on the size of envelope you are using.  I stamped the Peaceful Pines image and cut it out with the coordinating framelits.  This bundle is so awesome!  I added a few basic rhinestones to the tree to bling it up.  I used the scrap I cut the tree from and put it on a card for the inside so I had something to sign.  Then I sealed the whole thing off with a clothespin covered in DSP and added a piece of Cherry Cobbler Thick Baker's Twine. 
 
 
Quick, Easy, and Fun - three things that make for a great gift card holder.  Thanks for the inspiration, Angie!


Through November 9th, you can get an extra 3% in Hostess Benefits if you have a party of $300 or more.  This includes online parties so if you have friends that need to stock up on their holiday crafting supplies, contact me today for a hostess code and you can hold your parties, earn something free, and not have to clean your house or get dressed up! 


For this week only, you can get 15% of stamp sets.  This does not apply to a bundle since you are already saving 15% when you buy those.  You can purchase your stamp sets at my Online Store and please use hostess code FKPNYCW6 at checkout.

Some of my favorite items are on sale this week.  Check out the deals HERE and use hostess code FKPNYCW6 at checkout.

 
Have a craftastic day,
Stacy