Today is a special day for me. July 31st is my parents' anniversary. When I think of love, I think of my parents. They have been married for 44 years and I have never seen a couple that are such individuals yet make such a beautiful pair. They taught me so much over the years about how to love, how to trust, how to communicate, and how important it is to be friends with your spouse so that you always have a strong foundation.
At Convention, our new VP of Sales stated "I need to learn to love sending cards as much as I do making them!" and while I didn't write down her name to give her credit for the quote, I did write that quote down. How true is that comment? We buy supplies, we make cards, we share them as "samples" but we cannot share the story of how warm we made someone feel by actually sending them. I need to work on that so after I made this card for my parents, I made 5 more to send out to other friends and family members that have been on my mind.
The other thing this card reminded me is that we make our cards too hard sometimes. I wanted an anniversary card. I had the stamp set in mind. I knew I had 5 minutes before my son and daughter work up. I wanted something pretty, and, as it turned out, very easy to replicate.

Supplies:
- Cardstock/DSP: Thick Whisper White, Whisper White, English Garden DSP
- Ink: Blushing Bride
- Stamp Set: Friendly Wishes
- Accessories: White Satin Ribbon, Dimensionals, Bone Folder, and Adhesive
The DSP (Designer Series Paper) on this card is 5 1/4 x 4 and the Love You is stamped on a 4 x 1 1/2 piece of Whisper White. I love the Thick Whisper White cardstock for card bases - it's sturdy and I think easier to both write and stamp on since it's not so glossy. LOVE IT! The Love you is up on dimensionals and the ribbon is tied in knot and trimmed. I made six in 10 minutes - that's a great use of time and product!
So to wrap up, sometimes we need to remember the following:
- Sending cards is as important as making them.
- What you write inside the card is more special than what is on the outside.
- Fill your life with beautiful things.
- Tell those you love that you love them, whether you see them regularly or not.

Have you been considering signing up for Paper Pumpkin? Now is the time. For only $9.98 plus tax, you will get a kit sent to your door for the next two months that contains stamps, ink, instructions, and supplies to make great cards and projects. The kit comes in your mailbox and is designed for beginner or experienced stampers. I maintain a Paper Pumpkin board on Pinterest full of ideas using the stamps from the kit so you have easy access to a plethora of amazing ideas from other incredible ink artists. To sign up, visit: https://mypaperpumpkin.com/en/?demoid=80380.

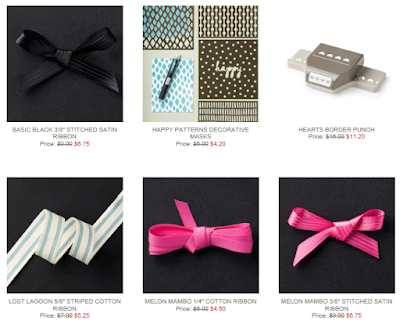
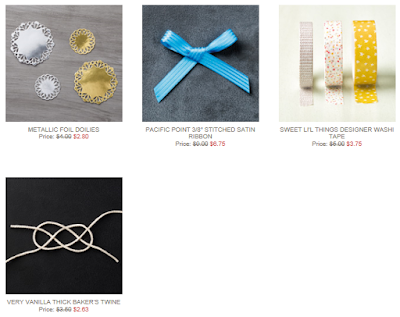
Check out these weekly deals via my online store and use hostess code SVTNRUVY upon checkout. These deals are for limited qualities so order fast before they are gone!
Have a craftastic day,
Stacy