As I mentioned yesterday, I use Paper Pumpkin when I need a jump start to my own creativity or when I have a specific need I'm trying to fill. This week I was thinking of all my teacher friends getting ready to go back to school and how much coffee it must take to handle so many young minds (and their energy) for so many hours each week. I have my hands full usually with my two kids so I cannot even IMAGINE how they keep their sanity. I decided it must take a lot of love and a lot of caffeine.
Callie starts Kindergarten in just a few weeks and we will be doing teacher appreciation gifts. But whether you need inspiration for one of those or for the holidays, this is a fun way to use Paper Pumpkin to make a gift card holder.
You will need the July 2015 Thanks a Latte Paper Pumpkin kit, a dauber, scissors, a Kraft Tag a Bag Gift Bag, and one Crumb Cake Notecard and Envelope. Oh, and a White Chalk Marker.
First, you will take the Tag a Bag and fold it so that there is about 1/4" at the top. Then you will cut off the top fringe from the bag. Cut 1/2" off the long side of the Basic Gray paper and attach it to the bag using your stapler. Insert the clip to the top of the first flap as shown.

Next you will need to make the card. I took the notecard and cut it in half. On one card, I stamped the cup in Early Espresso and then cut it out. I used the dauber to shade the cup and then heavily shaded the one side to give it dimension. I'm so proud. Then I added the two die cut sticker strips to the other half of the card and added the strip I cut off the Basic Gray DSP to the bottom. The cup is up on dimensionals but the rest of the stamping is directly on the card.

Now you slip the card in the front pocket and a coffee card or gift card in the other pocket.
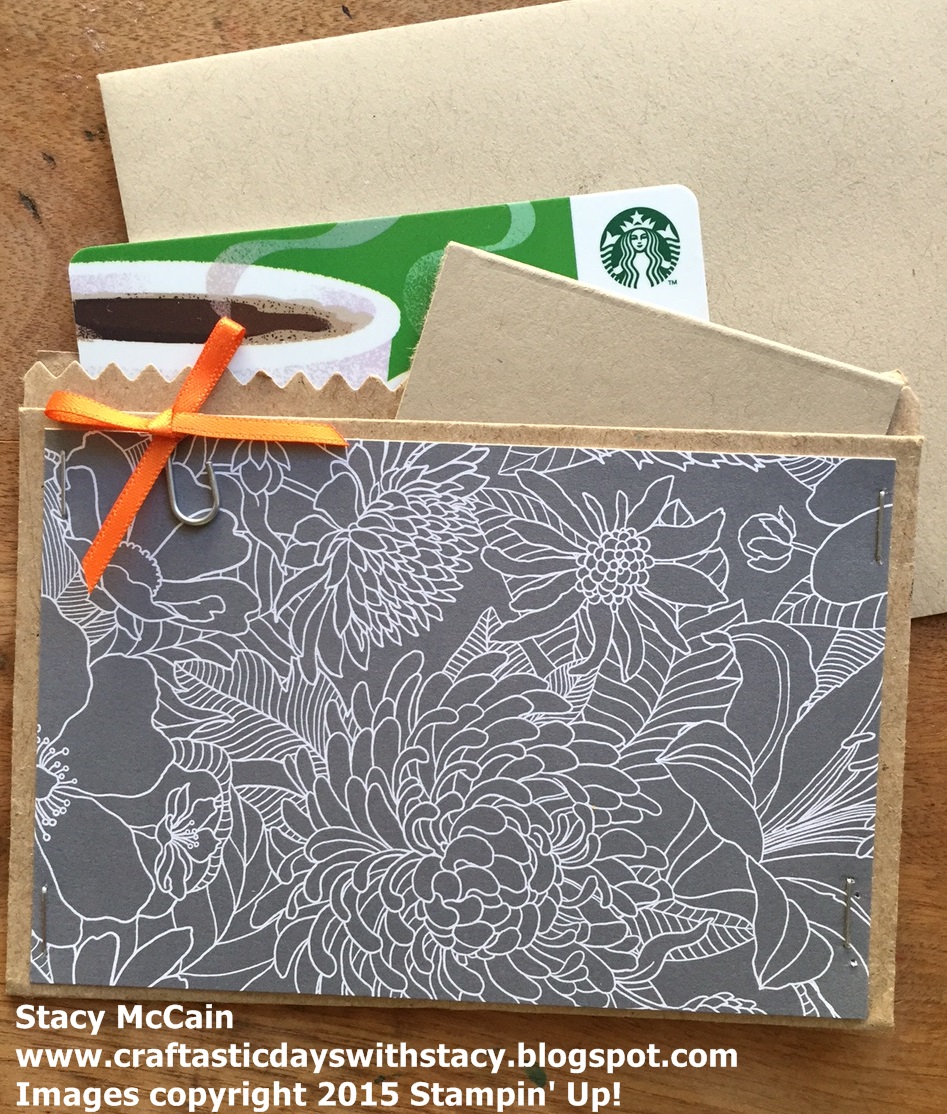
Best thing for me is that it's mailable. Just slip it into the envelope that comes with the Crumb Cake notecards and you can mail it off to your favorite out of state teacher, friend, or loved ones.

You can see more great ideas with this kit on My Pumpkin Challenge. Check out these great designers!
If you want to see what I come up with for next months kit, you should join us and get the exclusive stamps and ink only available to subscribers!

Have you been considering signing up for Paper Pumpkin? Now is the time. For only $9.98 plus tax, you will get a kit sent to your door for the next two months that contains stamps, ink, instructions, and supplies to make great cards and projects. The kit comes in your mailbox and is designed for beginner or experienced stampers. I maintain a Paper Pumpkin board on Pinterest full of ideas using the stamps from the kit so you have easy access to a plethora of amazing ideas from other incredible ink artists. While we usually don't know what is in the kits, we were able to see this one at Convention. The August kit is a great kit with both cards and boxes and a very useful set to have on hand. To sign up, visit: https://mypaperpumpkin.com/en/?demoid=80380.
Have a craftastic day,
Stacy
I absolutely LOVE how you colored in the coffee cup and added shading with the white chalk marker. Very cool! Wish I was Callie's teacher, but Aunt will be fine by me. :) So excited to hear about her first day of Kindergarten when it gets here!!
ReplyDeleteWhat a fantastic idea! Seems like more and more gifts involve store cards always looking for new ways to use them.
ReplyDeleteWhat a fantastic idea! Seems like more and more gifts involve store cards always looking for new ways to use them.
ReplyDeleteWhat a fantastic idea! Seems like more and more gifts involve store cards always looking for new ways to use them.
ReplyDelete