This year's make-n-takes were the same way for me. They made me fall in love with the Tag a Bag bundle and even made me kinda like Bermuda Bay, but just kinda. :) The Tag a Bag bags work for treats, gift packaging, and gift card holders! And for $3.95 for 10 bags, it's a really good deal, especially heading into the holiday season.
This project is one of the bags that is filled with notecards and envelopes and wrapped in a ribbon to keep it closed. I wrapped my Bermuda Bay 1/8 Taffeta ribbon around the bag and tied it in a knot. That way it slides off and on.


Supplies:
- Cardstock: Whisper White, Old Olive, Glitter Paper
- Ink:Bermuda Bay, Old Olive, Coastal Cabana, and Calypso Coral
- Stamp: Hello, Lovely
- Accessories: 1 3/4 Circle Punch, Bermuda Bay 1/8 Taffeta Ribbon, Tag a Bag Gift Bags, Basic Rhinestones, Calypso Coral Chevron Ribbon, Scissors, Dimesnionals, and Adhesive
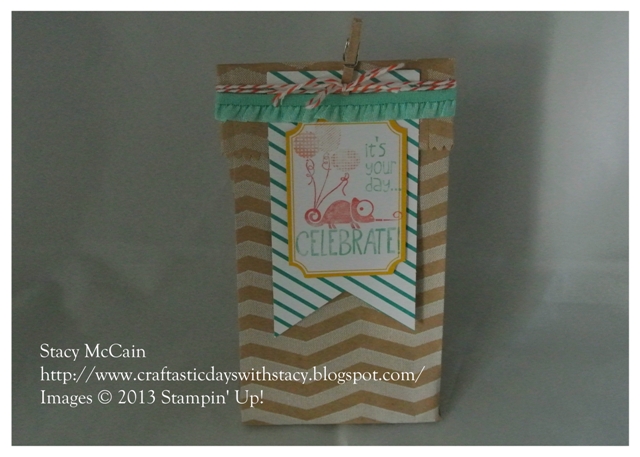
This second project uses the same bag but has you make a few cuts and folds to turn it into a gusseted bag instead. You just score it on the sides at 1" and at 1 1/2 on the bottom. Then make a few cuts up from the bottom to the 1 1/2 score line and fold in the bottom pieces to make the bottom of the bag. Depending on the weight of what you put in the bag, you may want to cut a piece of chipboard from the Tag a Bag packaging to place at the bottom. It will need to be just under 3 x 2.
This sample is using the Tag a Bag Accessory kit that comes in the bundle. The stamp is inked up with the markers and stamped on a tag piece. Then it is all layered with dimensionals.
This project uses the Tag It stamp set (pg. 45 of the catalog). This stamp set is tied to the partnership Stampin' Up! has with Ronald McDonald House. When you buy it, $3 of your order goes directly to help those children and family. I love it when doing what you love helps you share love with others!
Supplies:
- Markers: Crisp Cantaloupe, Calypso Coral, and Pistachio Pudding
- Stamp Set: Tag It
- Accessories: Tag a Bag, Tag a Bag Accessory Kit, Pistachio Pudding Ruffled Ribbon, Dimensionals, Scissors, and Adhesive
Click on the products below for more details!
Tag A Bag Bundle 131371
Price: $9.95

Tag It - Clear Mount - 130303
Price: $16.95
Tag It - Wood Mount - 130300
Price: $22.95

I am off to create with Callie for the afternoon so check in tomorrow to see what great, or at least fun, project we come up with!
Have a craftastic day,
Stacy
No comments:
Post a Comment
Note: Only a member of this blog may post a comment.