
Today I'm sharing the cards I made using the May 2015 Birthday Bundle kit. My apologies in advance for the mess in the background - it's been raining here for several days which means no good light for photos and children constantly underfoot that cannot go outside!

While I adored the card that came with the instructions, I knew that there was potential to play and that is my favorite thing about this great kits! Instead of getting that overwhelmed feeling I occasionally (um, just occasionally) get in my craft cave, I just sit down with the box and see what happens!

Here is the card that came with the kit - adorable, eh? Who wouldn't love to get this in the mail?

This one was made using the balloon from one of the bags and cutting the end of the Celebrate banner off. I also used a scrap of the thread from one of the bags and unraveled it to just use the white.

Yesterday I posted the bag with the card attached to the front. This card was made using the "back" of that card that was cut off. I used the rock-n-roll technique on the balloon. To do that, you ink it up and then stamp it off on scratch paper. Then you will roll the edges in the ink pad again and stamp! I used the other piece of scrap thread, this time removing the white strands, to put on the top of the tag.

Another things I love about photopolymer stamps is that you can align them easily. This camp is using scraps that were left over and my scissors. Callie thought this one was fun!


I wanted to play a little with one of the cards to see if I could do a fancy fold. In this case, I just folded the card inside out and then folded back the blue panel. I layered the circle on with dimensionals but the one on the striped piece is attached with adhesive so the sentiment can be hidden until the recipient opens the card.
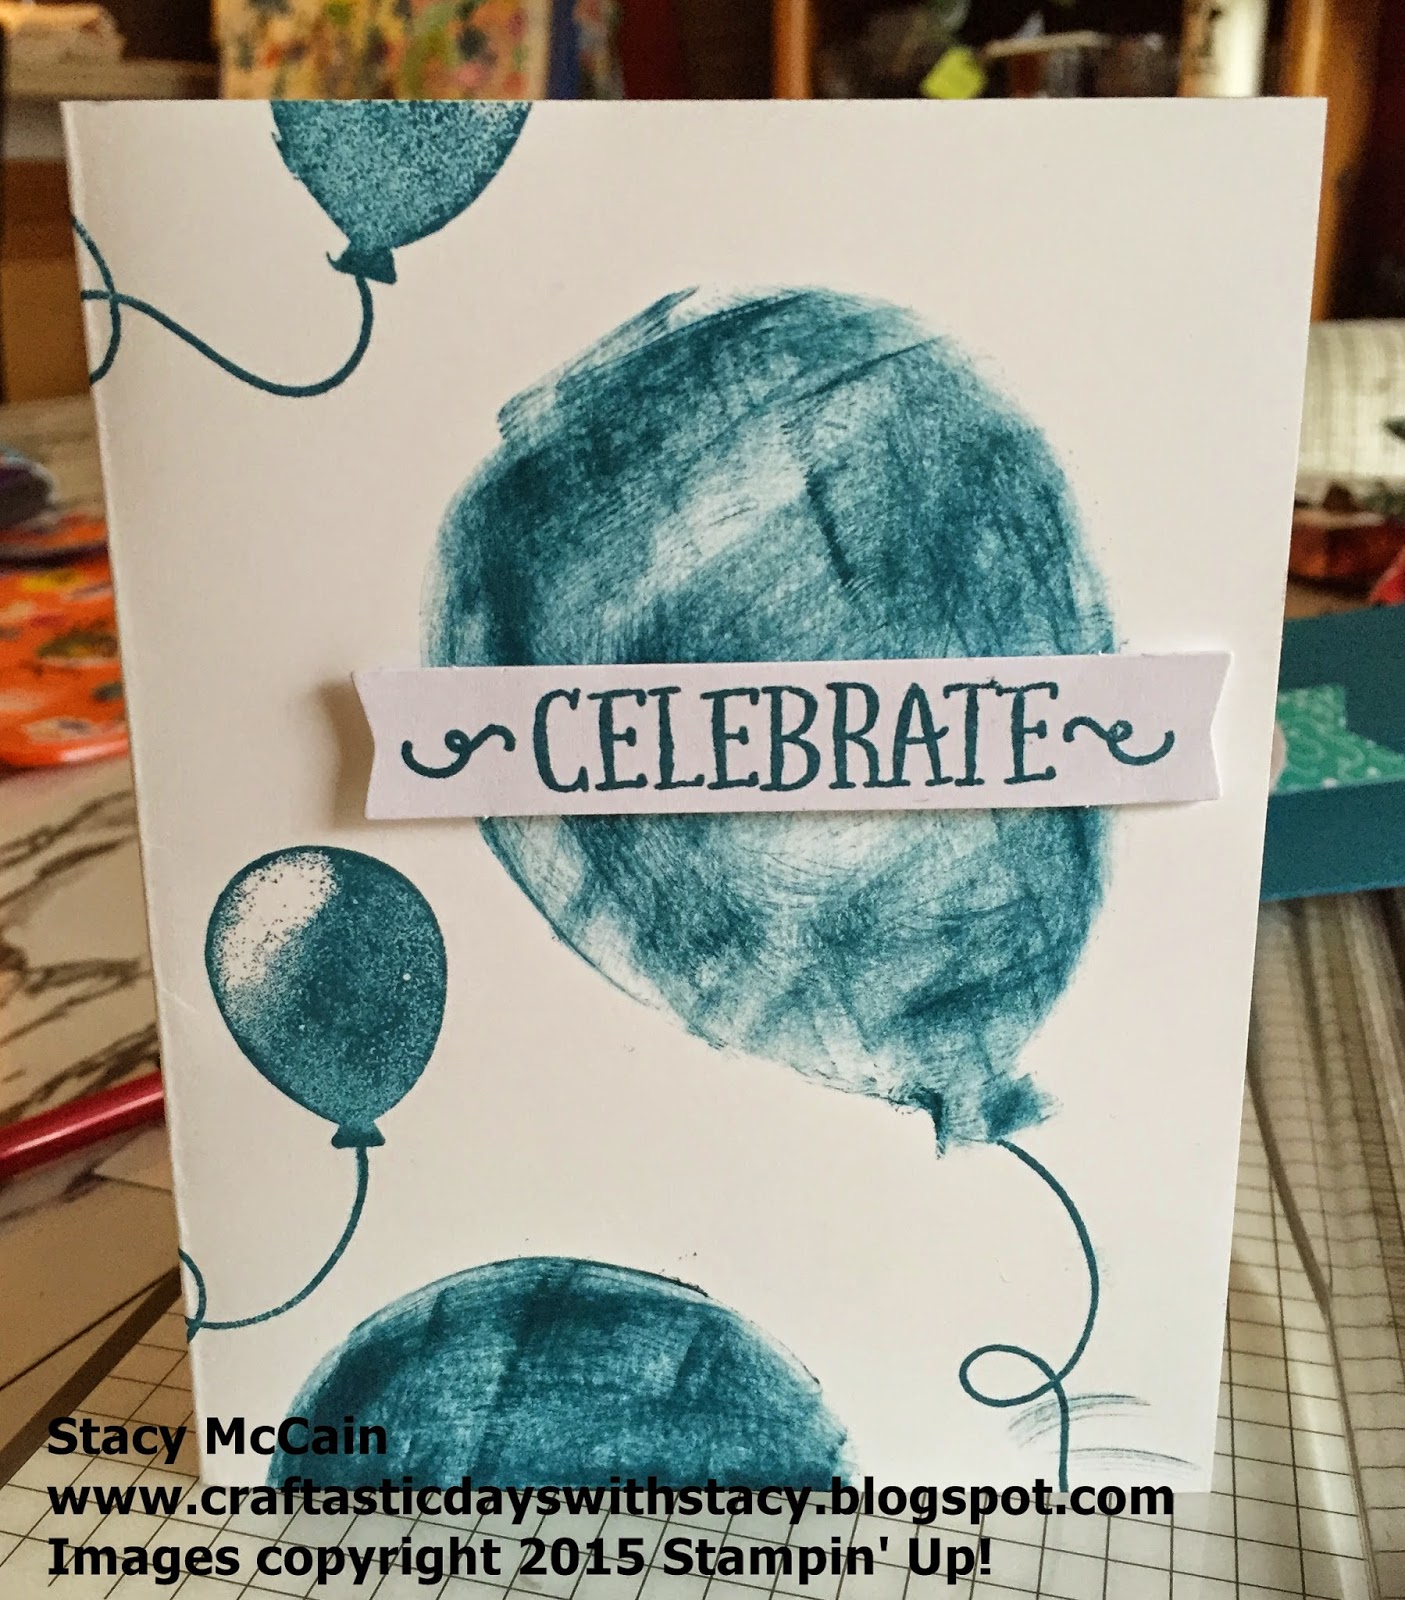
Finally, whenever we have die cut elements to a kit, I like to play to see if I can make stencils. In this case, I used the Stampin' Spot to color inside of the balloon scrap. I could have used a sponge for a smooth image but I liked the "texture" that came from using the ink directly.
I hope that you found something that helped inspire you. Remember that I commit to coming up with several ideas using the Paper Pumpkin kit each month so that you can make the most of your supplies.
Check back tomorrow to see what Callie and her 4 yr old mind made when I turned her loose with this kit!
Have a craftastic day,
Stacy
No comments:
Post a Comment
Note: Only a member of this blog may post a comment.