I'm finally caught up on my Paper Pumpkin samples and am so excited to share them over the next two days, which means two HUGE posts! I'm starting with April because I noticed a few things that will help you with other kits you receive (or maybe you already knew these tips and I just needed to ask...)
Have you heard of My Paper Pumpkin? It's a kit that comes right to your door!
Kits are designed to be completed in 30 minutes or so. They come with instructions, project/card supplies, ink, and photopolymer stamps. They do not always include adhesive. These products will be on trend and the kits will be either cards or 3D. Part of your pumpkin adventure is that you don't know what you will get until it shows up at your door! And, if you get a kit that isn't up your alley, put it together and give it as a gift to someone for the holidays or birthdays or just because! That cost is $19.95 per month plus tax and is charged on the 11th of the month. But not if you sign up by 6:50pm MST on Saturday, May 9th.

Sign up here: https://mypaperpumpkin.com/en/?demoid=80380
April's kit was called Love You A Lot and came with the stamp set below, a Pacific Point & Crushed Curry ink spot, and enough supplies and adhesive to make 8 pockets and cards. You can see this kit via this YouTube video.

Let's start with a few tips.
1 - A lot of our kits come with twine or ribbon that needs to be cut into 10" strips for the instructions. Did you know that your Paper Pumpkin kit comes in a box that is 10" long? Use it as your ruler!

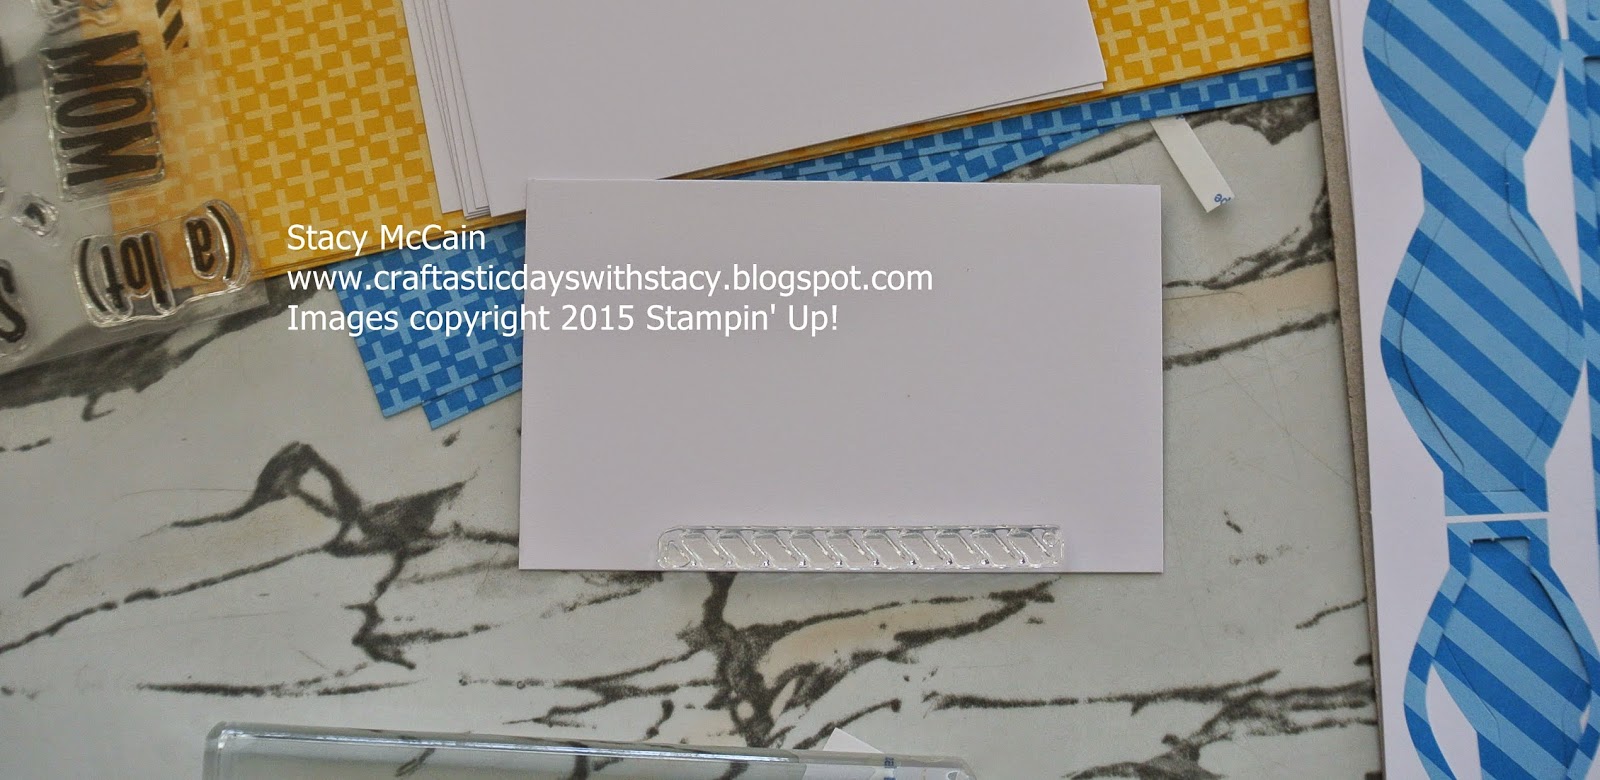
2 - Lining up photopolymer stamps doesn't have to be hard. If you have a patterned paper in the kit, lay your uninked stamps on the pattern and then press the clear block on top - that will keep your stamps straight.

If you don't have a pattern, just find a straight edge of a piece of cardstock in the kit and use that!
3 - Don't forget to line things up before you assemble. If you only want a specific item to show, lay all the pieces down like this first. Then ink up your stamp and it will have perfect placement.


Now for the project ideas. I really like the project that came in the kit. With Father's Day around the corner, I wanted to get those cards done first for my kids so they can focus on their "creative" projects for daddy.
This project is just like in the instructions. So cute, eh?

Now my youngest is trying to perfect his scribbles but he's not old enough to write in his daddy's card. I thought that it would be fun to use the front for one of his new 1 yr pictures and stamp the inside with his Father's Day message. (Note: If you are local and looking for a great family photographer, check out Heidi Hagman at www.heidihagmanphotography.com. You'll see more of her adorable work in tomorrow's post!)


I needed something for my dad to go with his football tickets and book so I cut one of the envelopes in half and made a corner bookmark out of it. I cut up one of the blue cards and layered it on the front and wrapped the twine.

Now my Mother's birthday is also in June so I cut another envelope to make a smaller pocket and put it on the front of kraft bag. Then I did some simple stamping using the set an made her a card for the front. Now I have a decorated bag AND a card (so I guess I should get crackin' on a gift to fit in there!)

Finally, it's Teacher Appreciation Week. I knew what I wanted to get the teachers in Callie's life but not how I'd find the time to package it. So I made these simple cards and printed off Amazon gift cards with the same sort of daisy image on them. Is that cheating?

So this one kit gave me Father's Day, Teacher Appreciation, and Birthday option. It would work for Mother's Day too but since both my mother's get this kit, I thought I'd try to make their cards with another set (see them on Sunday!)
Speaking of Mother's Day, remember that pre-paid subscriptions are a GREAT gift for Mother's Day. You can even print this adorable gift card to go in one of these envelopes if you are a current subscriber!
And, as a subscriber, you can also buy refills for this kit here.
Finally, for other great ideas using this kit and past kits, check out this great site. These designers do a fantastic job with their kits and each has a unique style allowing something for everyone!

Have a craftastic day,
Stacy
What a brilliant collection - I especially love that gift bag - great idea! Thanks so much for making the Pumpkin shine - and joining us at My Pumpkin Challenge!
ReplyDeleteWhat awesome ideas with the kit!! Love the one with the photo…OOoh, my dad would love THAT! Thank you so much for playing with us at My Pumpkin Challenge! You rock!
ReplyDeleteWow! So many great ideas. I love it. Thanks for sharing at the My Pumpkin Challenge!
ReplyDelete